Easy Rainbow Popsicles: A Taste of Sunshine
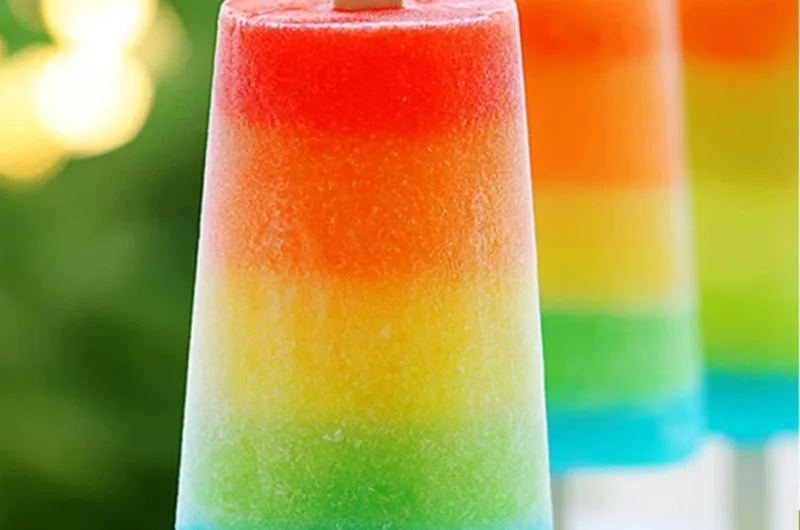
As the warm breeze dances through the trees and sunbeams playfully peek through the clouds, there’s nothing quite like indulging in a cool, refreshing treat on a sunny day. These Easy Rainbow Popsicles are not just a delightful way to escape the heat; they are vivid memories waiting to be made. I can still remember the joy on my face as a child, eagerly waiting for my mom to pop these colorful, fruity pops from their molds on hot summer afternoons. The fruity bursts of flavor and the creamy layers brought a smile to my face every time – a treat so simple yet so rewarding!
These popsicles are perfect for holiday gatherings, family barbecues, or just a cozy afternoon in your backyard. Plus, with a touch of creativity, you can easily customize them to your family’s liking! This is one you’ll definitely want to pin for later!
Why You’ll Love This Recipe
- Quick and Easy to Make: These popsicles take only a few minutes to prepare, making them a perfect treat for any busy day.
- Customizable Flavors: With endless options for fruit juices and sliced fruits, you can tailor these pops to suit every palate.
- No-Bake Refreshment: Say goodbye to baking heat—just blend, layer, and freeze!
- Family-Friendly Fun: Get the kids involved! They’ll love picking their favorite fruits and helping layer the pops.
- Vibrant and Appealing: The colorful layers are a feast for the eyes, perfect for impressing guests at your next gathering.
Ingredients You’ll Need for Easy Rainbow Popsicles
- 1 cup fruit juice (e.g., orange, apple, grape)
- 1 cup yogurt or coconut milk
- Sliced fruits (e.g., strawberries, kiwis, blueberries)
- Sweetener to taste (optional)
Let’s Make It Together
- In a blender, mix the fruit juice with any sweetener if desired until thoroughly blended.
- Pour a layer of fruit juice into popsicle molds and freeze for about 30-60 minutes until slightly set.
- Add a thin layer of yogurt or coconut milk on top of the juice layer.
- Add a layer of your chosen sliced fruits.
- Repeat layers of juice, yogurt, and fruits until the molds are full.
- Insert popsicle sticks and freeze for several hours until solid.
- To serve, run molds under warm water for a few seconds.
Fun Ways to Customize It
- Zesty Citrus Layers: Swap out the fruit juice for a blend of lemon and lime juices for a tantalizing tartness. Combine this with layers of rich coconut milk for an indulgent twist!
- Creamy Peanut Butter Swirl: Add a spoonful of creamy peanut butter between the yogurt layers for a delightful taste surprise that brings nostalgia for classic flavors.
- Minty Fresh Pops: Add a handful of fresh mint leaves to the blender with your fruit juice for a refreshing twist that brightens up the flavors!
- Chocolate Drizzle: For a decadent finish, drizzle a bit of melted dark chocolate over the fruit layers right before freezing.
Chef Emma’s Helpful Tips
- Make-Ahead Advice: These popsicles can be made in advance and stored in the freezer for up to two weeks—perfect for unexpected guests or hot days!
- Ingredient Swaps: Feel free to replace yogurt with dairy-free alternatives, like almond yogurt. It maintains that creamy texture while accommodating different dietary preferences.
- Slicing Tricks: Slice fruits thinly to ensure they fit perfectly in the molds and are easy to enjoy, adding to that beautiful rainbow effect.
- Storage Suggestions: If you have leftovers, make sure to wrap the popsicles in plastic wrap before placing them in a bag to keep them fresh and avoid freezer burn.
What’s Inside – Nutrition Breakdown
Serving Size: 1 popsicle
Calories: 70
Carbohydrates: 12g
Sugar: 8g
Fat: 2g
Protein: 1g
Sodium: 15mg
Frequently Asked Questions
Can I make this ahead?
Absolutely! These popsicles can be prepared a few days in advance and stored in the freezer.
Can I use different ingredients?
Yes! Feel free to substitute any fruit juice or fruit to create your favorite flavor combinations.
How do I store leftovers?
To keep your popsicles fresh, wrap them individually in plastic wrap and store them in an airtight container in the freezer.
How long does it last?
If well-wrapped, these popsicles can last in the freezer for up to two weeks.
A Cozy Closing Note
The joy of summer shines through these Easy Rainbow Popsicles. Their bright colors and fruity flavors encapsulate sunny days, laughter, and treasured memories. Whether you’re enjoying them with family or sharing them with friends, these pops will surely become a staple in your home. Save this Easy Rainbow Popsicles recipe to your Pinterest board so it’s ready when you need a cozy treat! Cheers to delicious moments and colorful memories!
Print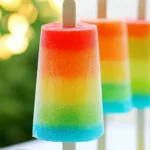
Easy Rainbow Popsicles
- Total Time: 360 minutes
- Yield: 6 servings 1x
- Diet: Vegetarian
Description
Delight in these colorful and refreshing Easy Rainbow Popsicles, perfect for hot summer days and customizable to suit every taste.
Ingredients
- 1 cup fruit juice (e.g., orange, apple, grape)
- 1 cup yogurt or coconut milk
- Sliced fruits (e.g., strawberries, kiwis, blueberries)
- Sweetener to taste (optional)
Instructions
- In a blender, mix the fruit juice with sweetener if desired until thoroughly blended.
- Pour a layer of fruit juice into popsicle molds and freeze for about 30-60 minutes until slightly set.
- Add a thin layer of yogurt or coconut milk on top of the juice layer.
- Add a layer of your chosen sliced fruits.
- Repeat layers of juice, yogurt, and fruits until the molds are full.
- Insert popsicle sticks and freeze for several hours until solid.
- To serve, run molds under warm water for a few seconds.
Notes
These popsicles can be made up to two weeks in advance and are great for hot days or unexpected guests. Customize flavors and layers as you like!
- Prep Time: 10 minutes
- Cook Time: 0 minutes
- Category: Dessert
- Method: Freezing
- Cuisine: American
Nutrition
- Serving Size: 1 popsicle
- Calories: 70
- Sugar: 8g
- Sodium: 15mg
- Fat: 2g
- Saturated Fat: 1g
- Unsaturated Fat: 1g
- Trans Fat: 0g
- Carbohydrates: 12g
- Fiber: 1g
- Protein: 1g
- Cholesterol: 0mg